The Roof Replacement Process: A Step-by-Step Guide
In the realm of property management and maintenance, roof replacement is a critical yet complex undertaking that requires meticulous planning and execution. Whether driven by aging materials, storm damage, or aesthetic upgrades, the process of replacing a roof involves several key steps, each integral to ensuring a successful and durable installation. This article provides a comprehensive, tech-savvy, and user-friendly guide to the roof replacement process, highlighting each stage with a focus on modern techniques and best practices.

Step 1: Assessing the Need for Roof Replacement
Before embarking on a roof replacement project, it is essential to conduct a thorough assessment to determine the necessity and scope of the replacement. Modern technology and diagnostic tools play a crucial role in this initial evaluation:
- Roof Inspection: Utilize drones equipped with high-resolution cameras to perform a detailed aerial inspection of the roof. Drones can capture comprehensive images and videos, revealing damage and wear that might be invisible from the ground.
- Thermal Imaging: Employ thermal imaging cameras to identify hidden issues such as leaks or insulation problems. These devices detect temperature variations and moisture buildup, providing a more complete assessment of the roof’s condition.
- Professional Evaluation: Engage a certified roofing contractor to conduct a professional evaluation. Their expertise, combined with advanced diagnostic tools, ensures a precise assessment and provides recommendations for the best course of action.
Step 2: Selecting Roofing Materials
Choosing the right roofing materials is crucial to ensuring the durability, aesthetics, and functionality of the new roof. Modern roofing technology offers a range of options, each with its own advantages:
- Asphalt Shingles: Known for their cost-effectiveness and variety of styles, asphalt shingles are a popular choice for residential properties. Advanced formulations offer improved durability and energy efficiency.
- Metal Roofing: Metal roofs, including steel and aluminum, provide superior longevity and resistance to extreme weather conditions. They are also highly reflective, enhancing energy efficiency.
- Clay and Concrete Tiles: Offering exceptional durability and a distinctive appearance, clay and concrete tiles are ideal for certain architectural styles and climates.
- Synthetic Roofing Materials: Modern synthetic options, such as composite shingles and rubber roofing, mimic traditional materials while offering enhanced performance and sustainability.
Consult with your roofing contractor to select the most suitable materials based on your property’s needs, climate, and budget.
Step 3: Obtaining Permits and Approvals
Roof replacement often requires obtaining permits and approvals from local authorities. This step ensures that the project complies with building codes and regulations:
- Permit Application: Submit a permit application to your local building department. Provide detailed plans and specifications for the roof replacement, including the type of materials and installation methods.
- Approval Process: Await approval from the relevant authorities. This may involve inspections or consultations to ensure that the project meets all regulatory requirements.
Obtaining the necessary permits and approvals helps avoid potential delays and ensures that the project adheres to legal and safety standards.
Step 4: Preparing the Site
Proper site preparation is essential for a successful roof replacement. This phase involves several key activities:
- Protecting Property: Use tarps and protective barriers to shield landscaping, exterior walls, and windows from debris and damage during the replacement process.
- Setting Up Safety Measures: Implement safety measures such as scaffolding, safety harnesses, and warning signs to ensure a safe working environment for the roofing crew.
- Removing the Old Roof: The existing roofing materials must be carefully removed and disposed of. This may involve stripping off old shingles, underlayment, and flashing.
Efficient site preparation minimizes disruptions and ensures that the replacement process proceeds smoothly.
Step 5: Installing the New Roof
The installation phase involves several critical steps, each contributing to the overall quality and performance of the new roof:
- Deck Inspection and Repair: Inspect the roof deck for damage or rot. Replace or repair any compromised areas to ensure a solid foundation for the new roofing materials.
- Underlayment Installation: Install a new underlayment, such as synthetic or felt paper, to provide an additional layer of protection against moisture infiltration.
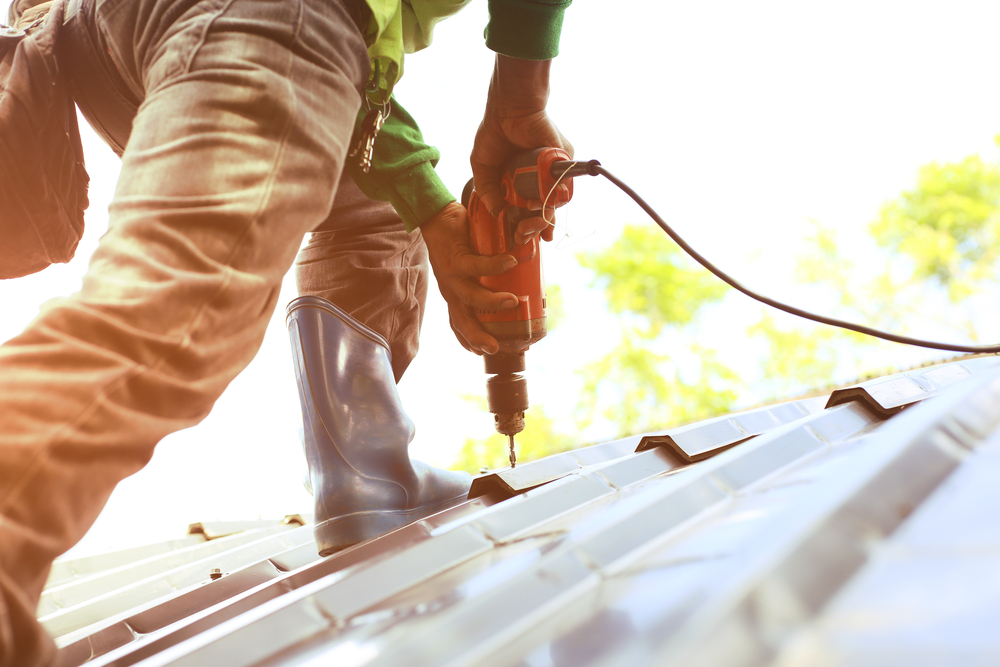
- Roofing Material Installation: Begin installing the new roofing materials according to manufacturer specifications and industry best practices. This may include laying down shingles, tiles, or metal panels, and securing them with appropriate fasteners.
- Flashing and Ventilation: Install flashing around roof penetrations, such as chimneys and vents, to prevent water infiltration. Ensure proper ventilation to facilitate airflow and prevent moisture buildup.
Following precise installation techniques ensures the longevity and effectiveness of the new roof.
Step 6: Conducting a Final Inspection
After the new roof is installed, a final inspection is crucial to ensure that all aspects of the project meet quality standards:
- Quality Check: Inspect the installation for any defects or inconsistencies. Verify that all materials are properly installed and that the roof is free from issues such as loose shingles or inadequate flashing.
- Cleanup: Ensure that all debris and construction materials are removed from the site. Clean gutters, downspouts, and surrounding areas to prevent blockages and maintain proper drainage.
A thorough final inspection helps identify any potential issues before the project is completed and ensures that the roof performs as intended.
Step 7: Reviewing Warranties and Documentation
The final step in the roof replacement process involves reviewing and securing warranties and documentation:
- Material Warranties: Review the warranties provided by the roofing material manufacturer. These warranties typically cover defects and performance issues for a specified period.
- Workmanship Warranties: Confirm the workmanship warranty offered by the roofing contractor. This warranty covers the quality of the installation and any issues that arise from improper installation.
- Documentation: Retain all documentation related to the roof replacement, including permits, inspections, warranties, and receipts. This documentation is essential for future reference and potential claims.
Securing and reviewing warranties and documentation ensures that you are protected and that the investment in your new roof is safeguarded.
Conclusion
The roof replacement process is a multifaceted endeavor that requires careful planning, execution, and attention to detail. By leveraging modern technology for assessment and documentation, selecting the appropriate materials, and adhering to best practices throughout each phase, you can ensure a successful and durable roof replacement.
From initial assessment to final inspection, each step in the process contributes to the overall quality and performance of your new roof. By following this comprehensive guide, you can navigate the complexities of roof replacement with confidence and achieve a result that enhances the safety, functionality, and aesthetics of your property.


